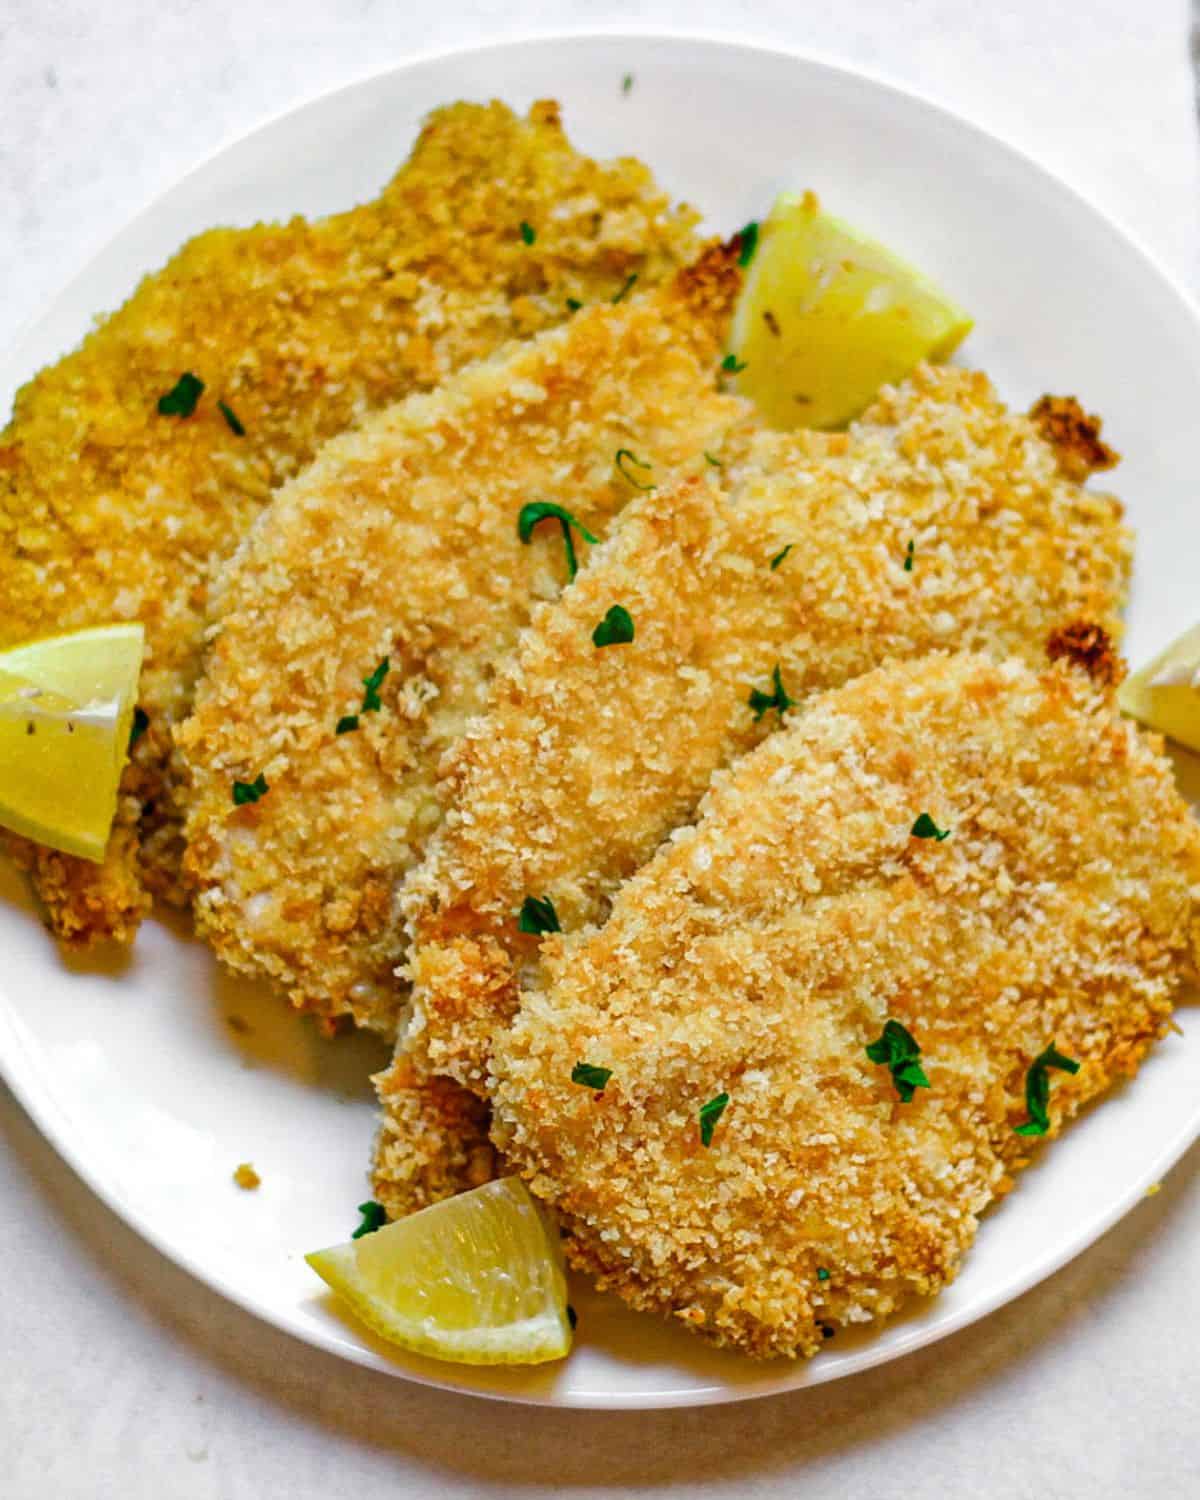
Learn how to make crispy panko-crusted chicken breasts in the oven or frying pan. This is an easy dinner idea that pairs well vegetables, rice, pasta, or as delicious addition to salads and sandwiches.
Jump to:
About crispy panko chicken
Panko Japanese-style breadcrumbs are coarse, airy, and light breadcrumbs that are famous for making a crispy crust for meat and seafood.
I used to coat my chicken in panko breadcrumbs straight from the box. Then, I have learnt that many reputable cooks prefer to toast their panko crumbs before using them as a toppings for pasta, salads, and more. So, I decided to give toasting a try before using the breadcrumbs as the coating for my chicken.
As a result, the chicken breasts came out of the oven even crispier and with a beautiful golden-brown crust. And even when frying the chicken, toasting breadcrumbs before coating also has its benefits.
Toasting panko helps reduce the sogginess, especially when used as a coating for ingredients with high moisture content (like chicken or seafood). I have also noticed that lightly toasted panko seems to stick better to the meat.
Lastly, toasted panko breadcrumbs add a nice golden brown color, which is hard to achieve when baking coated chicken in the oven.
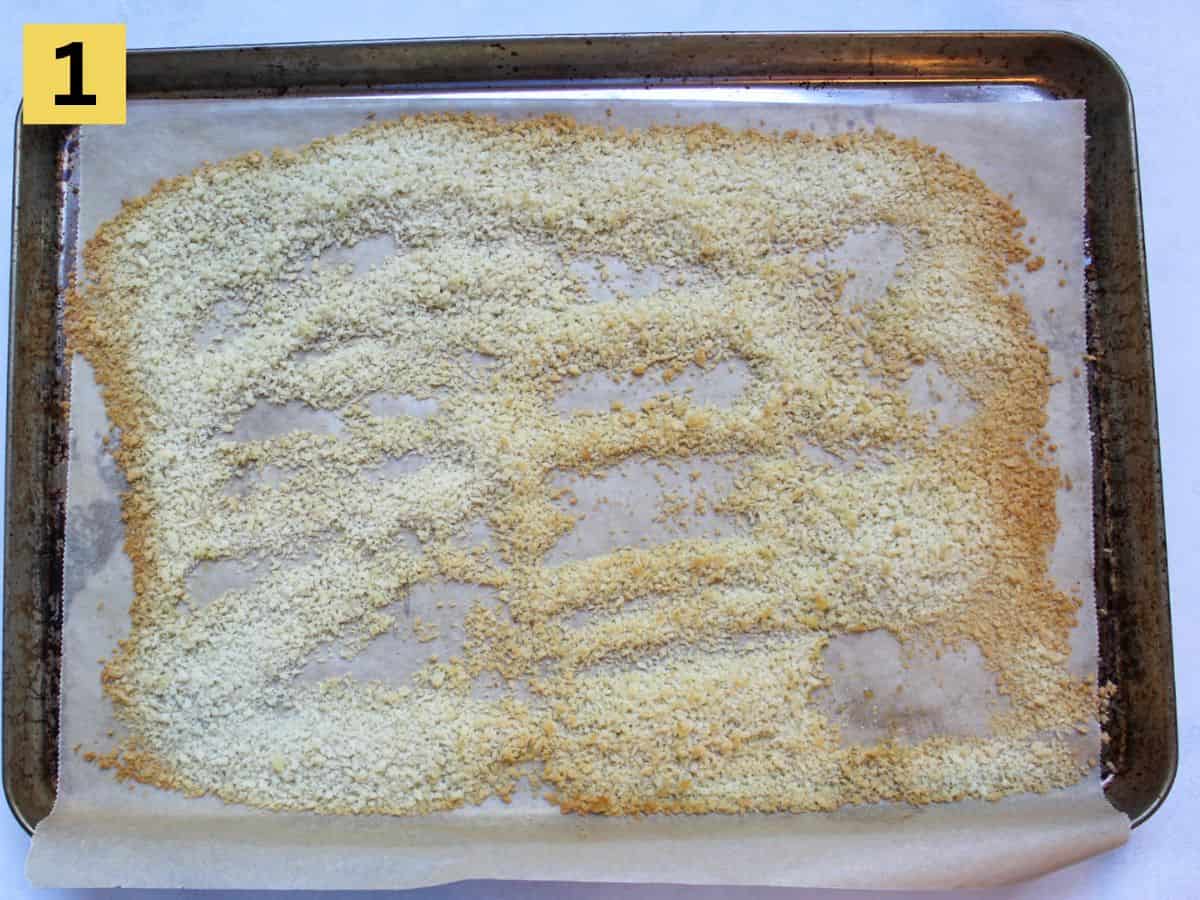
I recommend to keep a close eye on the breadcrumb in the oven. During my first batch, there were still good at 6 minutes, by at 7 minute they got burnt. So now, I do it only 4 minutes for a slightly golden color knowing knowing that they will continue to cook on the chicken
And if you are looking for an alternative to breaded chicken, consider our simple baked chicken cutlets.
Ingredients
Check out my detailed ingredient suggestions for this recipe below.
You can find the ingredients quantities in the recipe card at the end of this post.
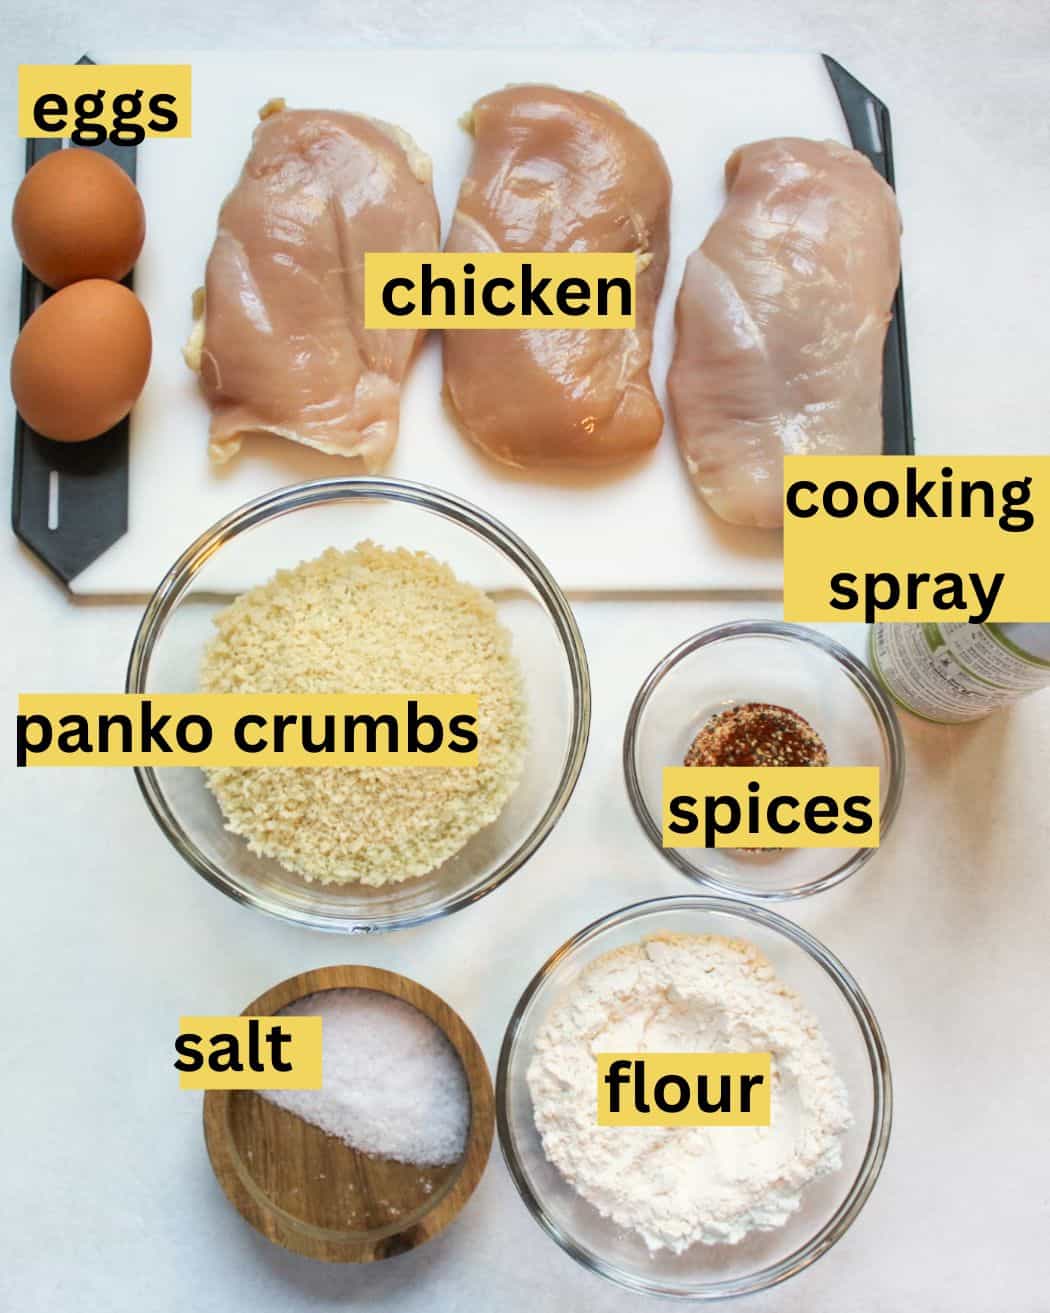
- Chicken breasts (boneless skinless): whenever possible, choose thicker chicken breasts as it will be easier to cut them evenly into cutlets. You can also buy already thinly sliced ones.
- Salt and seasonings: besides salt, I used paprika, garlic powder, onion powder, and black pepper.
- Flour: I used all-purpose flour as the first layer. It helps the beaten egg stick to the surface.
- Eggs: beaten eggs serve as a binding agent and prevent the panko breadcrumbs from falling off during the cooking process.
- Panko breadcrumbs: these Japanese style breadcrumbs have lighter, airier, and coarser textures. They are known for creating a light and exceptionally crunchy crust.
- Cooking spray: I used olive oil cooking spray. You can also use avocado or other vegetable oil.
How to make panko-crusted chicken breasts (fry or bake)
I made this recipe both fried and baked. Frying in oil for sure makes the chicken more golden and crispy. But you can also achieve crispy results in the oven by separately toasting the panko breadcrumbs and spraying some cooking oil on top of the chicken.
Personally, I prefer baking because I find it more convenient and less messy. Also, the oven method does not require flipping and you will need less oil.
If you choose to fry the chicken, simply heat a generous amount of oil in a large skillet. Bread the chicken following the instructions below. Fry breaded chicken over medium heat for about 3-4 minutes per side or until golden brown and the internal temperature reaches 165°F. Once fried, place cooked chicken on a plate lined with paper towels to absorb any excess oil.
Or you can follow the oven directions below if you want to bake it.
Step 1. First, preheat oven to 400°F. Line a baking sheet with parchment paper and spray it well with some cooking spray or brush with oil. Spread about 2 cups of panko bread crumbs in a single layer. Toast the crumbs in the oven for about 4 minutes, sitting them halfway through. They should turn slightly golden, but not burnt. Take the crumbs out and let them cool down.
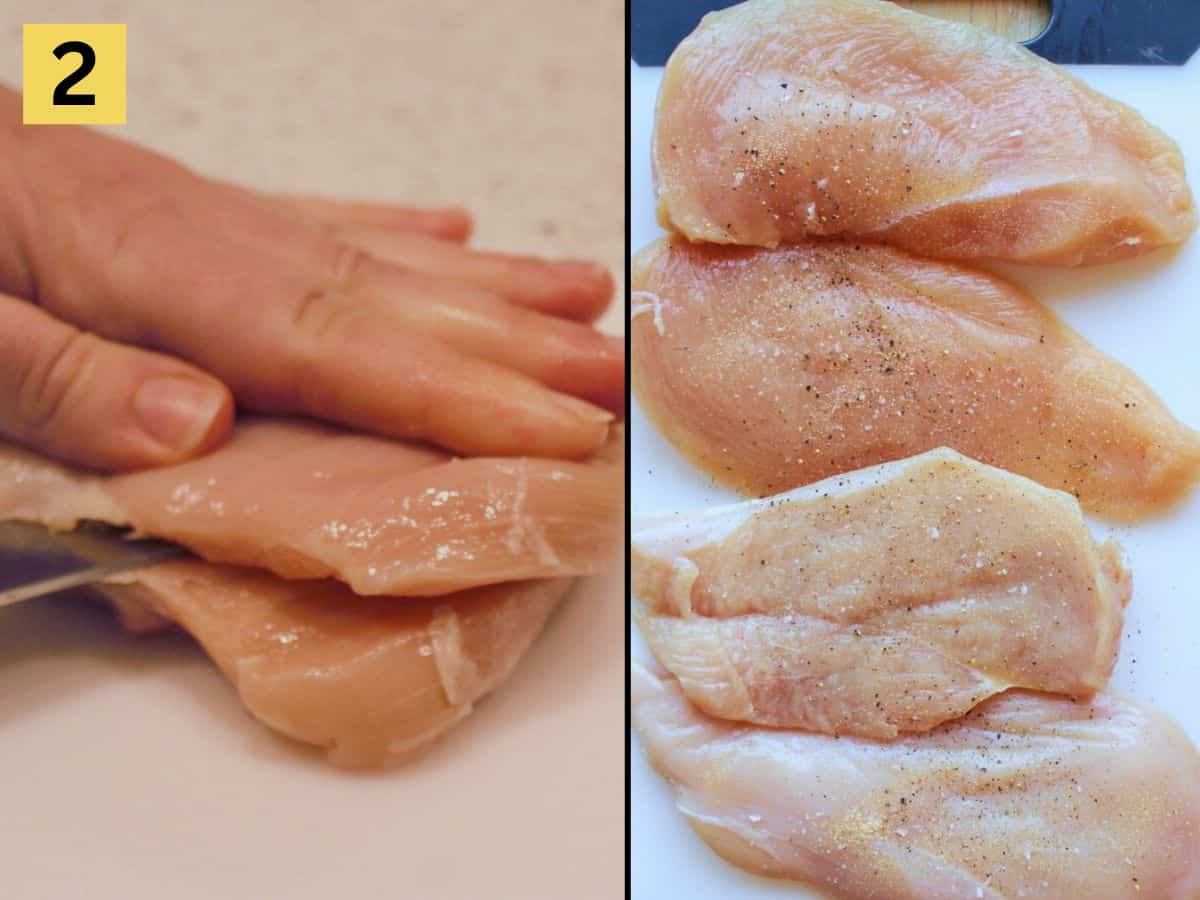
Step 2. Meanwhile, trim any fat or connecting tissue. Place chicken breast flat on a cutting board. Hold your sharp knife parallel to the cutting board and slice the chicken breast horizontally starting with the thick part. Now that you have two thin cutlets, season them well with salt on both sides. Repeat with the process of the meat. Set the meat aside for now.
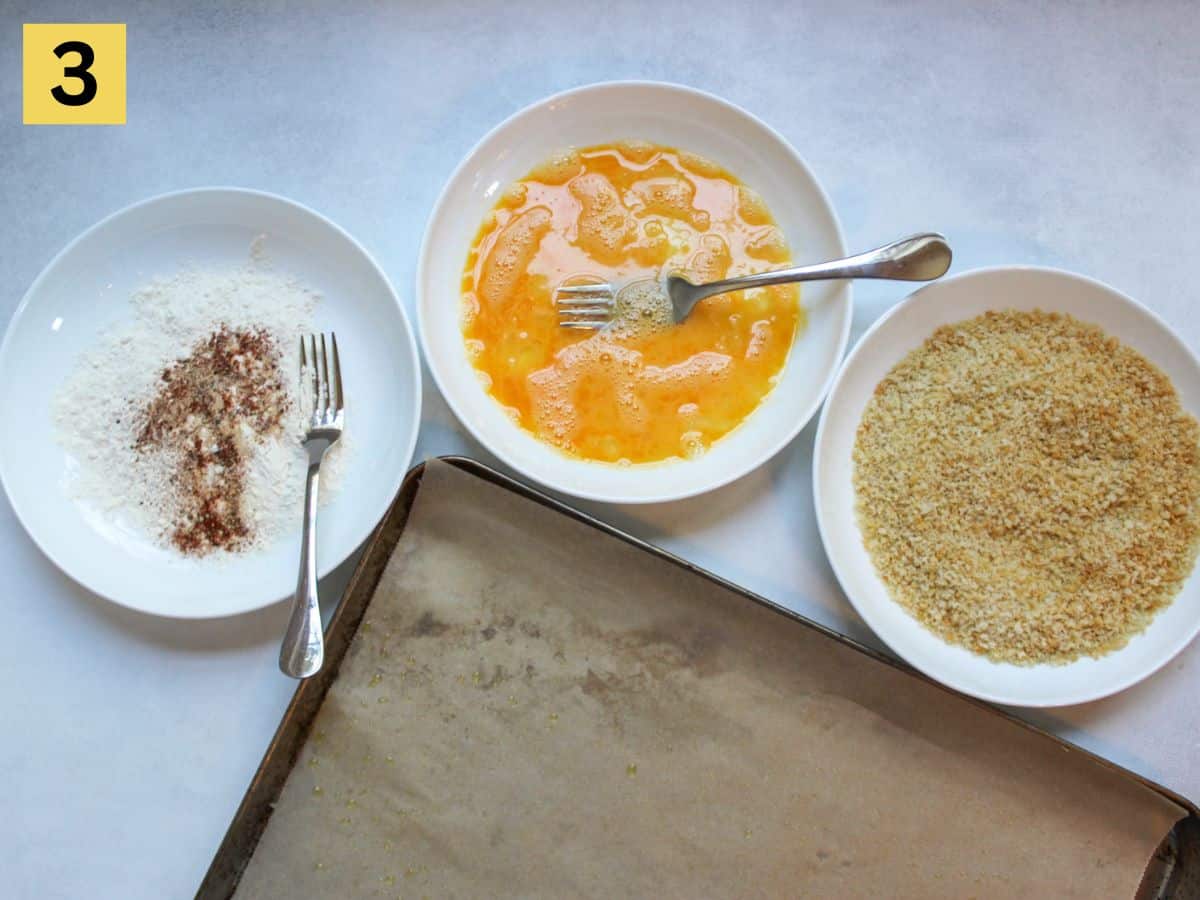
Step 3. Prepare three shallow dishes to make a breading station and a baking pan (if not frying). Preheat the oven to 400°F. Line a baking pan with parchment paper and spray it with the cooking oil. In the first dish, add flour, salt, paprika, garlic powder, onion powder, black pepper. Mix the ingredients with the fork. In the second dish, whisk two eggs with a fork. In the third dish, add toasted breadcrumbs.
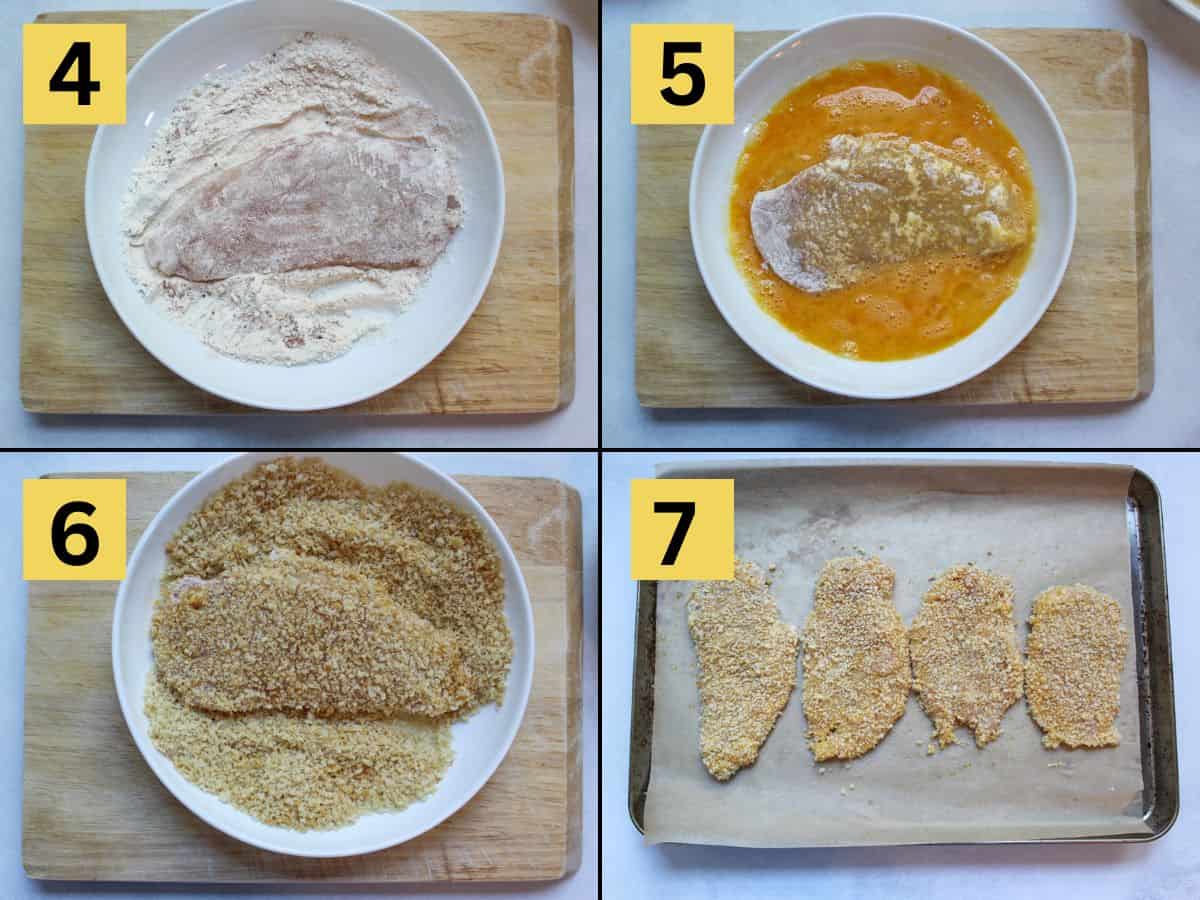
Steps 4, 5, 6, 7. Take one seasoned chicken cutlet and coat it in the flour mixture on both sides. You can use a fork or hands to dip the chicken into each mixture. Next, dip floured chicken into the egg wash, ensuring it is well coated and allowing the excess to drip back into the dish. Now, you can place it in the last dish with panko breadcrumbs. Make sure to press the breadcrumbs onto the chicken to ensure it sticks. Ensure to create a generous coating on both sides. Place breaded chicken breast on the prepared baking pan. Repeat with the rest of the chicken.
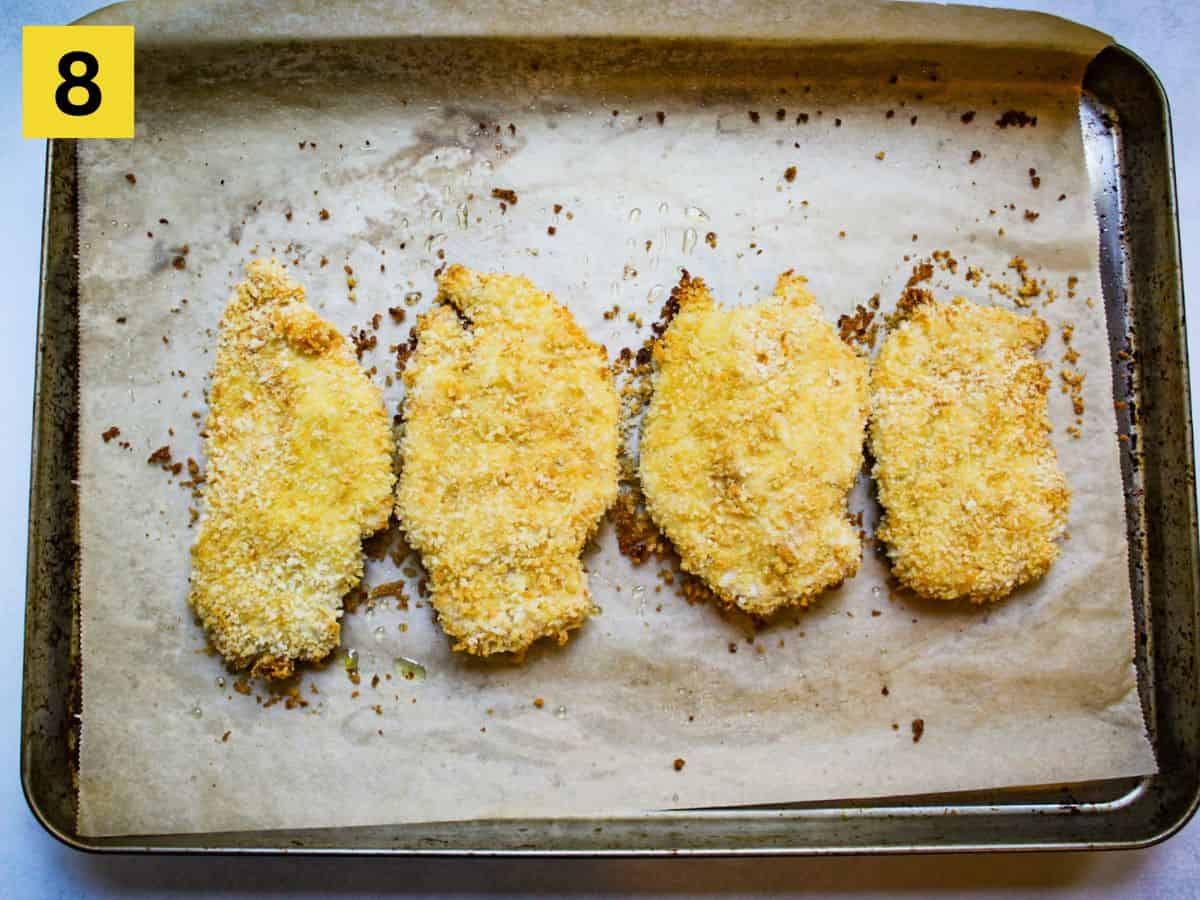
Step 8. Spray a bit more cooking oil over the breaded chicken for a richer and crispier result. Bake at 400°F for about 17-20 minutes or until the internal temperature reaches 165°F (75°C). If you are baking whole chicken breasts, the time will be about 22-25 minutes. Once done, remove the chicken from the oven and let it rest on a baking pan for a few minutes before serving.
Expert Tips
- Slice the chicken breast into thin cutest before cooking.
- Toast panko crumbs with oil in the oven for 4 minutes for even crispier results.
- For your convenience, set up the breading station in this order: flour, eggs, panko.
- Spray some extra oil on top of the chicken before baking for better color and crispier texture.
- Use a meat thermometer to prevent the meat from being undercooked or overcooked.
Serving ideas
Chicken goes well with so many sides, such as salads, rice, roasted vegetables, sweet potatoes, pasta, barley, and more. As for the dipping sauce, we like honey mustard, ketchup, homemade blue cheese or honey BBQ sauce.
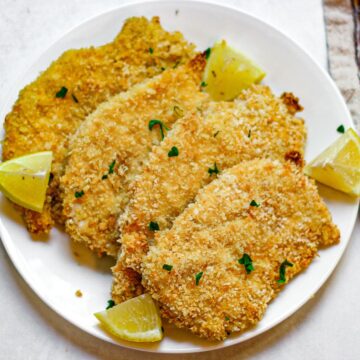
I also like to serve them with lemon wedges and chopped fresh parsley on top for a fresh taste.
Besides serving it as a main dish, you can use leftovers chicken to make salads, bowls, wraps, or sandwiches.
How to store and reheat to preserve the crispy texture
Like any other food in panko coating, this chicken is best when enjoyed fresh. But if you have some leftovers, you can safely store them in the fridge for up to 3 days.
To store: let the chicken cool down completely at room temperature for about 20-30 minutes to prevent condensation, which will make it soggy. After it cools down, store it in an airtight container. You can place some wax paper if you stack the meat in layers.
To reheat: the best way is to do it in a preheated to 400°F oven for about 10 minutes or in the air fryer for 3-5 minutes. Avoid the microwave method if you want to preserve the crispiness.
Variations
Herbs and cheese: add some dried parsley, oregano, basil, and grated Parmesan cheese to the breadcrumbs.
Spicy: you can season chicken with cayenne pepper, chili powder, smoked paprika, or even curry powder.
Asian-inspired: mix panko with sesame seeds and marinate the chicken in soy sauce and garlic. You can also make a dipping sauce by mixing some soy sauce, honey, and sriracha.
You can also cook it in the air fryer, just like these air fryer chicken cutlets.
Frequently asked questions
Yes, you can use regular breadcrumbs instead of panko for this recipe. Keep in mind, that regular breadcrumbs are not as crispy and light compared to panko.
Make sure that chicken is well coated with flour, eggs, and breadcrumbs in this order. You can also refrigerate breaded chicken for 20-30 minutes before cooking.
I have not tried making it gluten-free, but I am positive that you can use gluten-free flour and gluten-free breadcrumbs to make this recipe gluten-free. Let us know how it turned out if you try it.
More delicious chicken recipes to try
- Baked chicken wings
- Chicken breast in a cast iron skillet
- Greek yogurt-marinated chicken legs
- Air fryer chicken bites
- Chicken Kiev
📖 Recipe
Panko-Crusted Chicken Breasts
Equipment
- 3 shallow dishes
- 1 Baking pan or frying pan
Ingredients
- 2 large chicken breasts
- ½ cup all purpose flour
- 2 eggs
- 1½ cups panko bread crumbs
- 1 teaspoon salt, divided
- ½ teaspoon paprika
- ½ teaspoon garlic powder
- ½ teaspoon onion powder
- olive oil or avocado oil cooking spray
Instructions
- Preheat oven to 400°F. Line a baking sheet with some parchment paper and spray it with cooking oil. Spread 1½ cups panko bread crumbs on a prepared baking sheet and toast them for 4 minutes, stirring them half way through. They need to slightly brown, but not burn. Take them out of the oven and transfer the crumbs into one of the shallow dishes.
- Slice each chicken breast horizontally into 2 cutlets. Season each cutlet with salt and black pepper on both sides.
- Set up three shallow dishes. One with ½ cup all purpose flour, ½ teaspoon salt, ½ teaspoon paprika, ½ teaspoon garlic powder, ½ teaspoon onion powder; one with 2 whisked eggs; and one with toasted breadcrumbs.
- Coat each seasoned chicken breast in flour on both sides, then dip it in eggs mixture, and lastly coat it with toasted breadcrumbs pressing in gently into the chicken to ensure both sides are well coated.
- Place breaded chicken in the same baking sheet with parchment paper you used for toasting the crumbs. Spray a little bit of oil on top of the chicken.
- Bake breaded chicken breast for 17-19 minutes at 400°F or until the internal temperature reaches 165°F. Rest for a few minutes before serving.

Comments
No Comments